Serving LLM Predictions with RESTful API using Flask and Docker
TL;DR
In this tutorial, we'll explore how to create a RESTful API for serving Large Language Model predictions using Flask and Docker. The key insight here is that a well-designed API can significantly simplify the process of deploying and integrating machine learning models. By following this guide, you'll learn how to design, implement, and deploy a scalable API that can handle a high volume of requests. What most tutorials miss is the importance of proper error handling, logging, and monitoring, which we'll cover in detail.
Key Takeaways
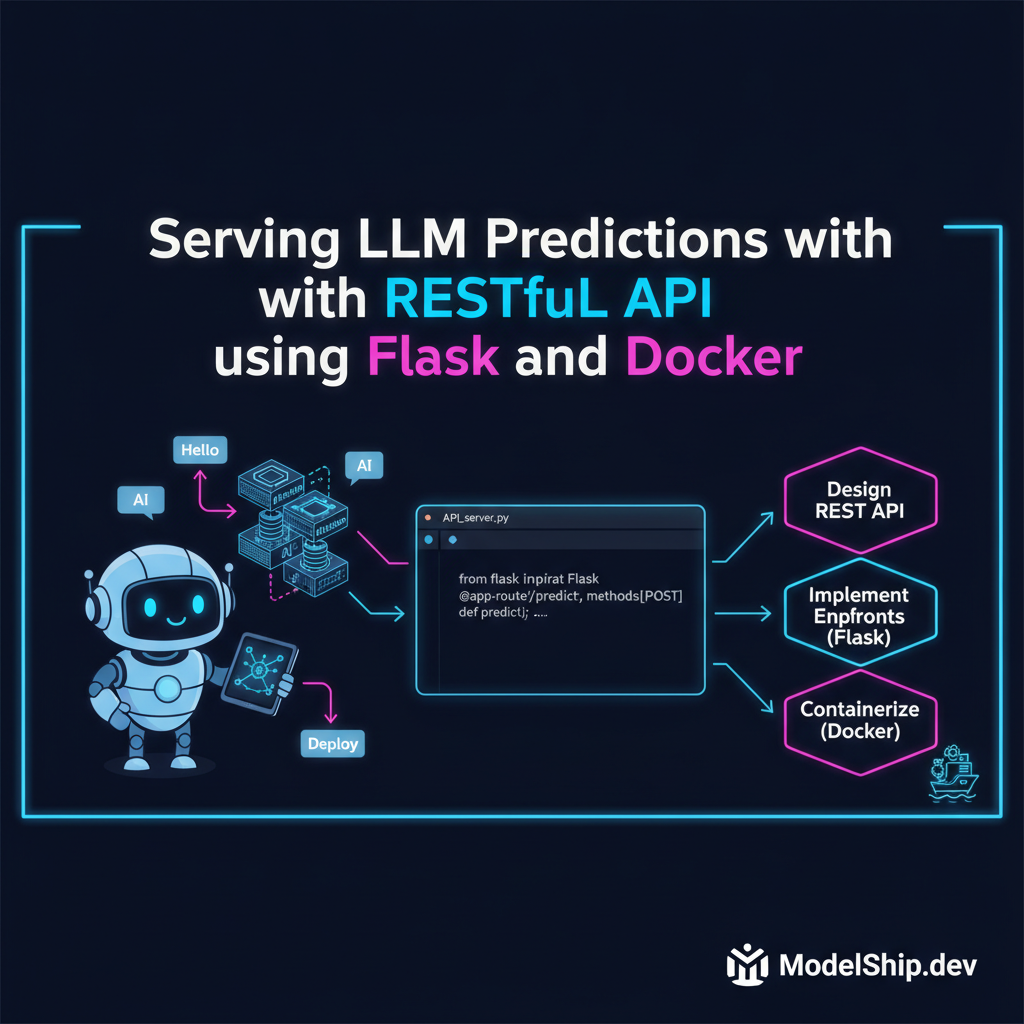
- Design a RESTful API for serving LLM predictions
- Implement API endpoints using Flask
- Containerize the API using Docker
- Deploy and monitor the API in a production environment
- Implement proper error handling and logging mechanisms
Introduction to RESTful APIs and LLMs
When it comes to deploying Large Language Models (LLMs), a well-designed RESTful API can make all the difference. The key insight here is that a RESTful API provides a standardized way of interacting with the model, making it easier to integrate with other applications and services. In this tutorial, we'll explore how to create a RESTful API for serving LLM predictions using Flask and Docker.
What are LLMs and why do we need a RESTful API?
LLMs are a type of machine learning model that can generate human-like text based on a given input. They have numerous applications, including chatbots, language translation, and text summarization. A RESTful API provides a convenient way to access the model's predictions, allowing developers to integrate the model into their applications without having to worry about the underlying implementation details.
Choosing the right tools and technologies
In this tutorial, we'll be using Flask, a popular Python web framework, to build the RESTful API. We'll also be using Docker, a containerization platform, to containerize the API and make it easier to deploy and manage. For more information on containerization, check out our article on building a containerized AI dev environment.
Designing the API
The key to designing a good API is to keep it simple, intuitive, and consistent. Let's break this down step by step. First, we need to identify the API endpoints that we want to expose. In this case, we'll have two endpoints: one for making predictions and another for retrieving model metadata.
API Endpoints
The prediction endpoint will accept a JSON payload containing the input text and return a JSON response containing the predicted output. The metadata endpoint will return information about the model, such as its version and training data.
API Request and Response Formats
The API will use JSON as the request and response format. This is because JSON is a widely-supported format that is easy to work with in most programming languages. For more information on working with JSON data, check out our article on designing a scalable AI data pipeline.
Implementing the API
Now that we've designed our API, let's implement it using Flask. We'll start by creating a new Flask application and defining the API endpoints.
from flask import Flask, request, jsonify
app = Flask(__name__)

@app.route('/predict', methods=['POST'])
def predict():
    # Get the input text from the request payload
    input_text = request.get_json()['input_text']
    # Make a prediction using the LLM
    prediction = llm.predict(input_text)
    # Return the predicted output as a JSON response
    return jsonify({'output': prediction})

@app.route('/metadata', methods=['GET'])
def metadata():
    # Return information about the model as a JSON response
    return jsonify({'version': '1.0', 'training_data': 'example dataset'})
Implementing Error Handling
Error handling is an essential aspect of building a robust API. We'll implement error handling mechanisms to handle cases such as invalid input, model errors, and server errors. For more information on error handling, check out our article on securing LLM APIs.
Containerizing the API
Now that we've implemented our API, let's containerize it using Docker. Containerization provides a convenient way to package and deploy our API, making it easier to manage and scale.
Creating a Dockerfile
We'll start by creating a Dockerfile that defines the build process for our API. The Dockerfile will specify the base image, copy the application code, and set the command to run the API.
FROM python:3.9-slim
COPY . /app
WORKDIR /app
RUN pip install -r requirements.txt
CMD ["flask", "run", "--host=0.0.0.0"]
Building and Running the Docker Image
We'll build the Docker image by running the command `docker build -t llm-api .` and then run the image using `docker run -p 5000:5000 llm-api`. This will start the API and make it available on port 5000.
Deploying and Monitoring the API
Once we've containerized our API, we can deploy it to a production environment. We'll use a cloud provider such as AWS or Google Cloud to host our API.
Deploying to a Cloud Provider
We'll create a cloud instance and deploy our Docker image to it. We'll also configure the instance to expose the API on a public port.
Monitoring the API
We'll use a monitoring tool such as Prometheus and Grafana to monitor our API's performance and health. For more information on monitoring AI model performance, check out our article on monitoring AI model performance.
Frequently Asked Questions
What is a RESTful API and why is it useful for serving LLM predictions?
A RESTful API is an architectural style for designing networked applications. It's useful for serving LLM predictions because it provides a standardized way of interacting with the model, making it easier to integrate with other applications and services.
How do I secure my LLM API?
To secure your LLM API, you should implement proper security measures, such as OAuth and JWT, to authenticate and authorize requests. You should also use HTTPS to encrypt data in transit.
What is the difference between Flask and Django?
Flask and Django are both Python web frameworks, but they have different design goals and use cases. Flask is a lightweight framework that is well-suited for building small to medium-sized applications, while Django is a high-level framework that is well-suited for building complex, data-driven applications.
Conclusion
In this tutorial, we've explored how to create a RESTful API for serving LLM predictions using Flask and Docker. We've covered the design, implementation, and deployment of the API, as well as error handling, logging, and monitoring. By following this guide, you should now have a good understanding of how to build a scalable and secure API for serving LLM predictions.
PhD in NLP, now building AI products. I explain the 'why' behind AI systems so you can make better engineering decisions, not just copy-paste code.
More from Dr. Sarah Kim →Discussion
Loading comments…
Leave a comment
Related Articles