TL;DR
Here's the thing, integrating Dialogflow with Node.js is easier than you think. Let me show you exactly how I do this. In my experience, the key is handling intents and entities properly. This is the part most tutorials skip, but I'll walk you through it step by step.
Key Takeaways
- Set up a Dialogflow agent and enable the Node.js client library
- Handle user input with intents and entities
- Implement a basic conversational flow with Node.js
- Integrate with external APIs for more advanced functionality
- Optimize performance with caching and error handling
Introduction to Dialogflow and Node.js
Here's the thing, Dialogflow is a powerful platform for building conversational AI agents. When paired with Node.js, you can create production-grade chatbots that integrate with your existing infrastructure. Let me show you exactly how I do this.
Setting up Dialogflow
In my experience, setting up a Dialogflow agent is straightforward. First, create a new agent and enable the Node.js client library. This will give you the API credentials you need to authenticate with the Dialogflow API.
const dialogflow = require('dialogflow');
const sessionClient = new dialogflow.SessionsClient();
Handling User Input with Intents and Entities
This is the part most tutorials skip, but handling user input is crucial for a good conversational flow. Intents represent the actions the user wants to perform, while entities represent the specific details of that action. For example, if the user says 'book a flight to New York', the intent is 'book flight' and the entity is 'New York'.
Defining Intents and Entities
Let me show you exactly how I define intents and entities in Dialogflow. First, create a new intent and add the relevant training phrases. Then, define the entities you want to extract from the user input.
const intent = {
  displayName: 'book-flight',
  trainingPhrases: ['book a flight to {destination}'],
  parameters: [{
    displayName: 'destination',
    entityType: 'geo-city',
    mandatory: true
  }]
};Implementing a Basic Conversational Flow with Node.js
Now that we have our intents and entities set up, let's implement a basic conversational flow with Node.js. We'll use the Dialogflow API to detect the user's intent and extract the relevant entities.
Handling User Input
In my experience, handling user input is where most chatbots go wrong. Here's how I do it:
app.post('/chat', (req, res) => {
  const userInput = req.body.userInput;
  sessionClient.detectIntent(
    {
      session: sessionPath,
      queryInput: {
        text: {
          text: userInput,
          languageCode: 'en-US'
        }
      }
    },
    (err, response) => {
      if (err) {
        console.error(err);
      } else {
        const intent = response.queryResult.intent.displayName;
        const parameters = response.queryResult.parameters;
        // handle the intent and parameters
      }
    }
  );
});Integrating with External APIs
Let's say we want to integrate our chatbot with an external API to book flights. We can use the Dialogflow API to detect the user's intent and then call the external API to perform the action.
Calling the External API
Here's how I call the external API:
const apiResponse = await fetch('https://example.com/book-flight', {
  method: 'POST',
  headers: {
    'Content-Type': 'application/json'
  },
  body: JSON.stringify({
    destination: parameters.destination
  })
});Optimizing Performance with Caching and Error Handling
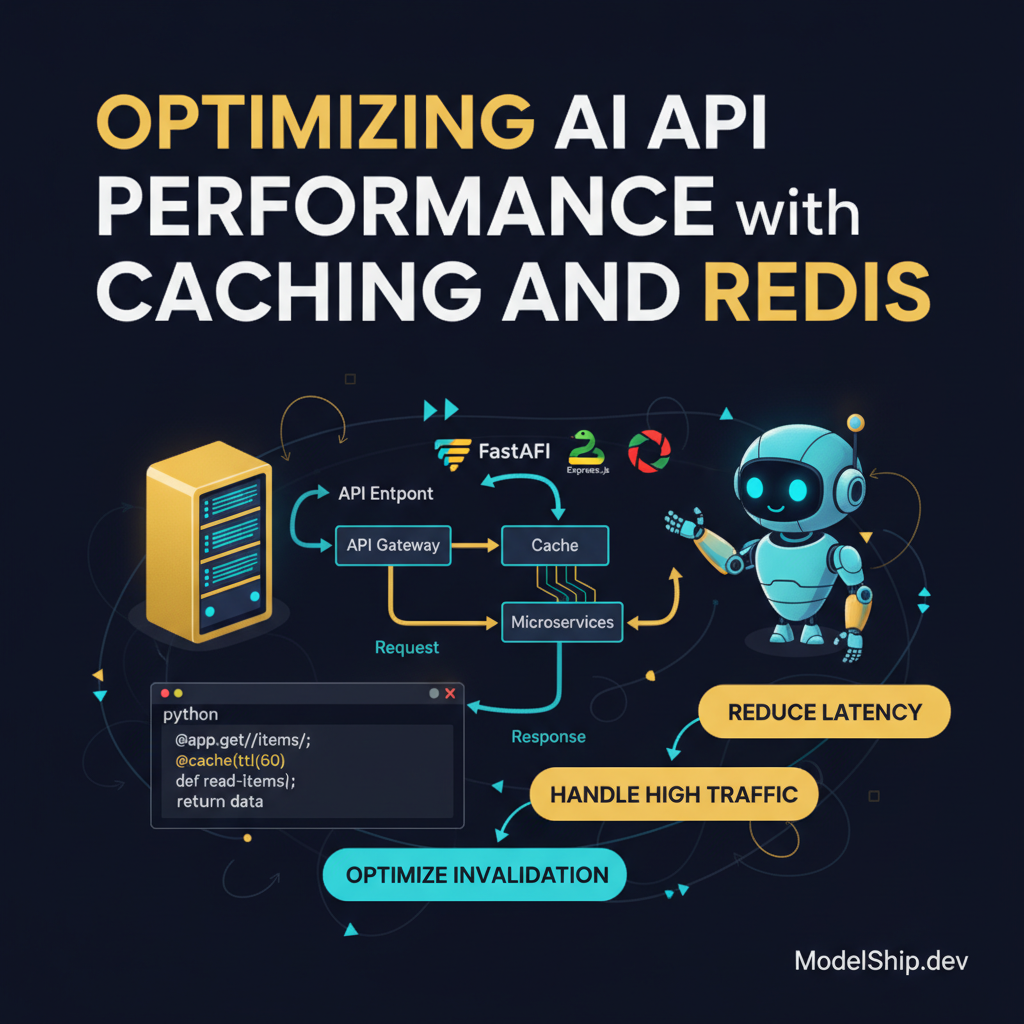
In my experience, optimizing performance is crucial for a good user experience. We can use caching to store the user's conversation history and improve performance.
Implementing Caching
Here's how I implement caching:
const redis = require('redis');
const client = redis.createClient();
client.set('conversation-history', JSON.stringify(conversationHistory));Frequently Asked Questions
What is Dialogflow?
Dialogflow is a Google-owned platform for building conversational AI agents.
How do I integrate Dialogflow with Node.js?
Integrating Dialogflow with Node.js involves setting up a Dialogflow agent and using the Node.js client library to authenticate with the Dialogflow API.
What is the purpose of caching in a chatbot application?
Caching is used to store the user's conversation history and improve performance.
Conclusion
In conclusion, integrating Dialogflow with Node.js is easier than you think. By following these steps and using the code examples provided, you can create a production-grade chatbot that integrates with your existing infrastructure. Remember to handle user input properly, integrate with external APIs, and optimize performance with caching and error handling. As an aside, if you're interested in learning more about reinforcement learning, I recommend checking out our post on Reinforcement Learning with PyTorch: A Production Guide.
7 years building production AI systems. I write about the stuff that actually works in the real world — practical code, real architectures, zero fluff.
More from Alex Chen →Discussion
Loading comments…
Leave a comment
Related Articles